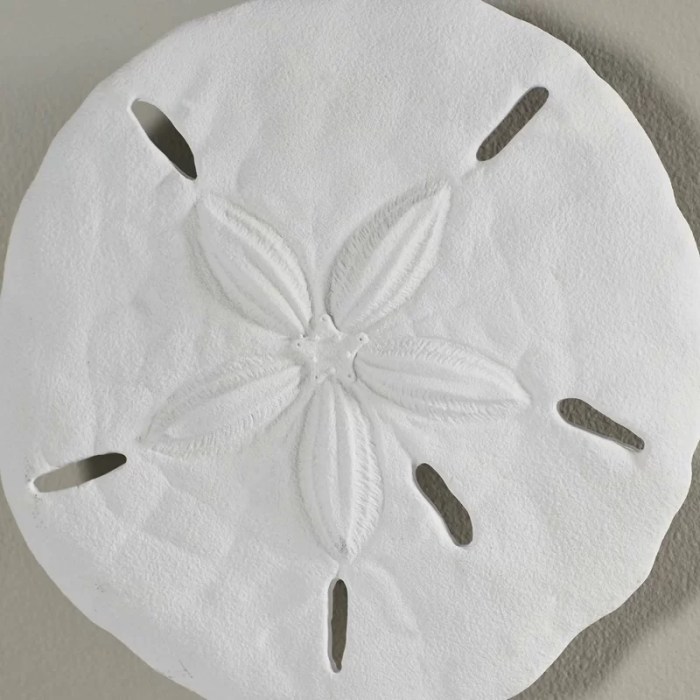
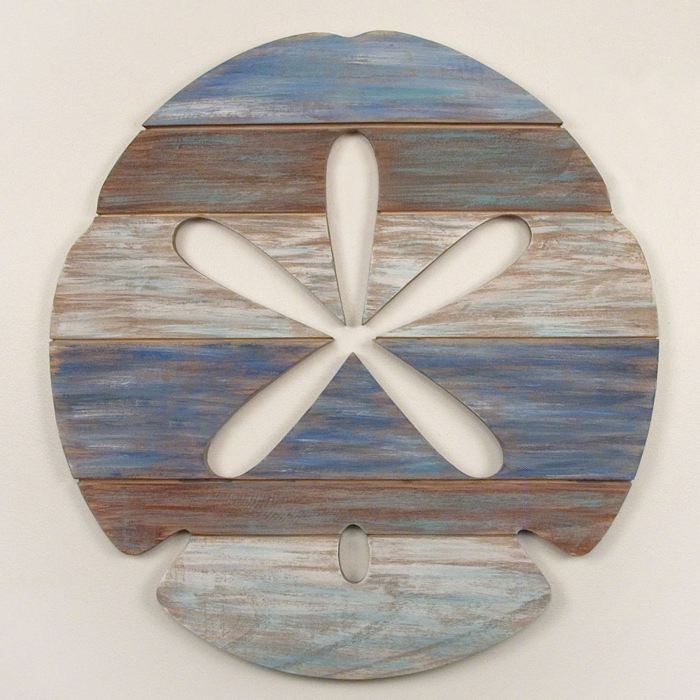
DIY Sand Dollar Wall Decor Projects

Crafting sand dollar wall decor offers a unique blend of coastal charm and personalized artistry. These projects, ranging in complexity, allow for creative expression while transforming readily available materials into stunning home accents. The following projects demonstrate varying skill levels and resource requirements, catering to a diverse range of DIY enthusiasts.
Simple Sand Dollar Garland
This project is ideal for beginners, requiring minimal crafting experience and readily available materials. The resulting garland offers a delicate, understated elegance, perfect for smaller spaces or as a supplementary decorative element.
Materials:
- Approximately 20-30 sand dollars of uniform size (cleaned and bleached if desired).
- Natural twine or fishing line (approximately 10 feet).
- Small scissors.
Steps:
- Measure and cut the twine to your desired length. Consider adding extra length for hanging.
- Using a knot, securely attach a sand dollar to one end of the twine. Ensure the knot is tight and secure to prevent slippage.
- Space the remaining sand dollars evenly along the twine, tying each securely with a knot. Adjust spacing for aesthetic preference.
- Once all sand dollars are attached, tie a loop at each end of the twine for hanging. Alternatively, you can use small adhesive hooks to secure the garland.
Image Description: A simple garland of evenly spaced sand dollars hangs against a whitewashed wall. The natural twine is barely visible against the light background, highlighting the delicate texture of the sand dollars. The overall effect is one of understated elegance and coastal charm.
Sand Dollar Shadow Box
This project presents a moderate level of difficulty, requiring slightly more advanced crafting skills and a wider range of materials. The shadow box provides a three-dimensional display, showcasing the sand dollars’ intricate detail and allowing for personalized customization.
Materials:
- A shallow shadow box with a glass or acrylic front (size according to preference).
- Various sized sand dollars (cleaned and bleached, if desired).
- Small seashells or other beach-themed accents (optional).
- Fine-grain sand (optional).
- Adhesive putty or glue.
Steps:
- Carefully arrange the sand dollars within the shadow box, experimenting with different layouts until satisfied with the arrangement. Consider layering for depth.
- Secure the sand dollars in place using adhesive putty or glue, ensuring a secure hold.
- Add optional accents such as seashells or fine sand to enhance the overall composition. Consider adding a layer of sand at the bottom for a beachy effect.
- Once the arrangement is complete and the adhesive has dried, carefully close the shadow box and hang or display as desired.
Image Description: A shadow box displays an artful arrangement of sand dollars of varying sizes, layered to create depth. Small white seashells are interspersed amongst the sand dollars, and a thin layer of fine sand covers the bottom of the box. The glass front showcases the intricate detail of the sand dollars and the overall composition.
Sand Dollar and Mirror Sunburst
This project presents the most significant challenge, requiring a higher level of skill and more specialized tools. The finished product is a statement piece, showcasing both artistry and a unique blend of materials. This project requires some basic woodworking knowledge.
Materials:
- A circular mirror (size according to preference).
- Wooden dowels or sticks (various lengths).
- Sand dollars (cleaned and bleached, if desired).
- Strong adhesive (suitable for wood and sand dollars).
- Wood glue.
- Saw (for cutting dowels).
- Drill (for pilot holes).
Steps:
- Cut the wooden dowels into various lengths, creating a graduated effect for the sunburst design. The lengths should radiate outwards from the center point.
- Drill pilot holes into the back of the mirror and into the ends of the dowels to facilitate secure attachment with the adhesive.
- Attach the dowels to the back of the mirror using the wood glue, ensuring they are evenly spaced and create a sunburst pattern.
- Once the glue is dry, attach the sand dollars to the ends of the dowels using strong adhesive. Ensure the sand dollars are securely fastened to prevent damage or detachment.
Image Description: A large circular mirror serves as the center of a sunburst design crafted from wooden dowels and sand dollars. The dowels radiate outwards from the mirror, with sand dollars affixed to their ends. The overall effect is a striking and unique piece of wall art, blending rustic charm with coastal elegance. The varying lengths of the dowels create a dynamic and visually interesting effect.
Right, so you’re into that beachy vibe with your sand dollar wall decor, yeah? But to really nail that coastal look, you need to think about the whole shebang. Check out some seriously lush options for contemporary table top decor to complement those sand dollars – think little shells, maybe some driftwood. Then, bam! Your sand dollar wall decor will totally pop.
Sand Dollar Wall Decor Trends & Inspiration

The seemingly simple sand dollar, a symbol of coastal serenity, has unexpectedly become a significant player in the ever-evolving world of home decor. Its inherent elegance, coupled with the inherent nostalgia it evokes, allows for diverse interpretations, moving beyond the predictable and into surprisingly sophisticated design statements. This exploration delves into current trends, showcasing the versatility of sand dollar decor and challenging the limitations of traditional approaches.
Current Trends in Sand Dollar Wall Decor Design
The market for sand dollar-themed home decor is dynamic, reflecting broader shifts in interior design aesthetics. Five key trends currently dominate this niche. These trends aren’t merely fleeting fads; they reflect a deeper societal desire for natural elements, handcrafted details, and personalized spaces.
- Minimalist Monochromatic Arrangements: This trend utilizes the sand dollar’s natural beige and white tones, creating clean, uncluttered displays. Think single, carefully positioned sand dollars against a stark white background, or a small grouping arranged on a simple shelf with other natural elements like driftwood or smooth stones. The focus is on showcasing the sand dollar’s inherent beauty, rather than overwhelming it with embellishments.
- Bohemian Eclecticism: Sand dollars find a natural home within bohemian-inspired designs. They are incorporated into macrame wall hangings, layered with textured fabrics and beads, creating a visually rich and layered effect. This approach embraces a sense of carefree artistry, highlighting the sand dollar’s organic form within a larger, eclectic composition.
- Coastal Farmhouse Chic: This popular style blends rustic charm with coastal influences. Sand dollars are often paired with shiplap, weathered wood, and muted blues and greens. The result is a calming, inviting atmosphere that subtly evokes the seaside without being overly thematic.
- Modern Geometric Integration: A departure from traditional displays, this trend incorporates sand dollars into modern geometric designs. Sand dollars might be arranged in precise patterns within a shadow box, or used as accents within a larger geometric wall mural. This style highlights the sand dollar’s form as a design element, rather than simply a decorative object.
- Personalized & Upcycled Decor: This trend emphasizes unique and sustainable practices. Sand dollars are incorporated into repurposed frames, incorporated into DIY shadow boxes, or even used to create unique jewelry holders. The focus is on personal expression and minimizing environmental impact.
Creative Uses of Sand Dollar Decor Beyond Traditional Framed Displays, Sand dollar wall decor
The potential applications of sand dollar decor extend far beyond simple framed displays. The inherent versatility of the sand dollar allows for imaginative and innovative uses within a variety of home decor styles.
- Sand Dollar Coasters: Sand dollars, carefully sealed and varnished, can be transformed into unique and conversation-starting coasters. This provides both functional and decorative elements to a space.
- Sand Dollar Candles: Sand dollars can be incorporated into candle making, creating beautiful and subtly scented centerpieces. The natural texture and shape of the sand dollar add an organic touch to the candle’s aesthetic.
- Sand Dollar Ornaments: Sand dollars, painted or left natural, can be transformed into charming Christmas ornaments or decorative elements for other holidays. This demonstrates adaptability to different seasonal themes.
Incorporating Sand Dollar Themes into Other Home Decor Elements
The sand dollar motif needn’t be confined to wall decor. Its delicate beauty and inherent symbolism allow for seamless integration into other home decor elements, creating a cohesive and aesthetically pleasing design scheme.
- Throw Pillows: Throw pillows featuring subtle sand dollar prints or embroidered designs add texture and visual interest to sofas and armchairs. These provide a less obtrusive but still thematic element.
- Rugs: Rugs with sand dollar patterns or motifs can serve as anchor pieces in a room, subtly incorporating the theme into the overall design. These offer a larger-scale application of the theme.
- Table Linens: Table runners or placemats featuring sand dollar designs can elevate the dining experience, adding a touch of coastal elegance. This approach provides a sophisticated and subtle thematic inclusion.
Answers to Common Questions
Are real sand dollars better than artificial ones?
It depends on your priorities! Real sand dollars offer a unique, natural texture and feel, but require more care. Artificial ones are more durable and affordable.
How do I clean real sand dollars for decor?
Gently brush them with a soft brush and warm water. Avoid harsh chemicals. You can also use a diluted bleach solution for stubborn stains, but rinse thoroughly.
Where can I find affordable sand dollar wall decor?
Check out Etsy, craft stores, and online marketplaces like Amazon for a wide range of options and price points.
Can I use sand dollars in a kids’ room?
Absolutely! Just make sure they’re securely attached to prevent accidents. Consider using artificial sand dollars for extra durability.


